Showing posts with label holiday baking. Show all posts

Thursday, December 18, 2014

Christmas baking 101


Confession: I've become slightly obsessed with the sun recently. The moment it chooses to show its face. I literally stop everything I'm doing and bask in the vitamin D glow. This is clearly the most logical thing to do when it only surfaces every five days. Welcome to the dreary Northeast winter days. Thank goodness for Christmas joy, twinkle lights, and holiday baking!

This year instead of leaving all my baking for this last week before Christmas. I've been slowly and steadily planning my attack and filling our freezer to the brim. I've now completely run out of containers and our freezer is maxed out. I am by no means an expert, but thought I'd share a few tips and tricks I've learned when it comes to enjoying your time in the kitchen this Christmas...

1. Whisk and stir to the tunes of your favorite Christmas music. 
I promise it will help you tackle that mound of dishes you just created. (Says the baker without a dishwasher.)

2. Embrace the power of your freezer.  
It's no secret that I love my freezer, but this time of year it really earns its energy saver stars. Freezing is the best way to preserve the freshly baked taste while saving me from having to spend long hours in the kitchen the morning of that holiday shindig. It's also a lovely place to store cookie dough until your ready for your cookie decorating party.
3. Bake only what you personally want to eat.
Do not make your Great Aunt Stella a fruitcake that you yourself wouldn't want a crumb of. Odds are there might be leftovers. Bake and make only what you and your family will be happy to polish off.

4. Giving gifts from your kitchen this year? Assess your gifting supply.
Do you have enough boxes, tins, bags, ribbons, tags, etc? If not, hit the dollar store for the basics and the craft store for snazzier gifting options. And for the love, please don't forget that craft store coupon!

5. Stock up now for future baking adventures.
Technically this applies to year round baking, but I'd be forsaking my frugal self if I didn't tell you to stock your pantry now. Butter, chocolate, nuts, and flour are all on sale for about as cheap as they get. Stock up for the coming months. Don't succumb to paying a third more for a product in a month. P.S. Butter, flour, and nuts freeze well.
6. When in doubt, pull that cookie sheet out! 
Do NOT be that person that serves rock hard cookies. Just don't. Even biscotti, in my humble opinion, should have a slight chew in the middle.

So there's my two cents. Any tips you'd like to add?


If you still haven't decided what goodies your gifting this Christmas, don't fret! Here's a few suggestions from my baking list to get you started:

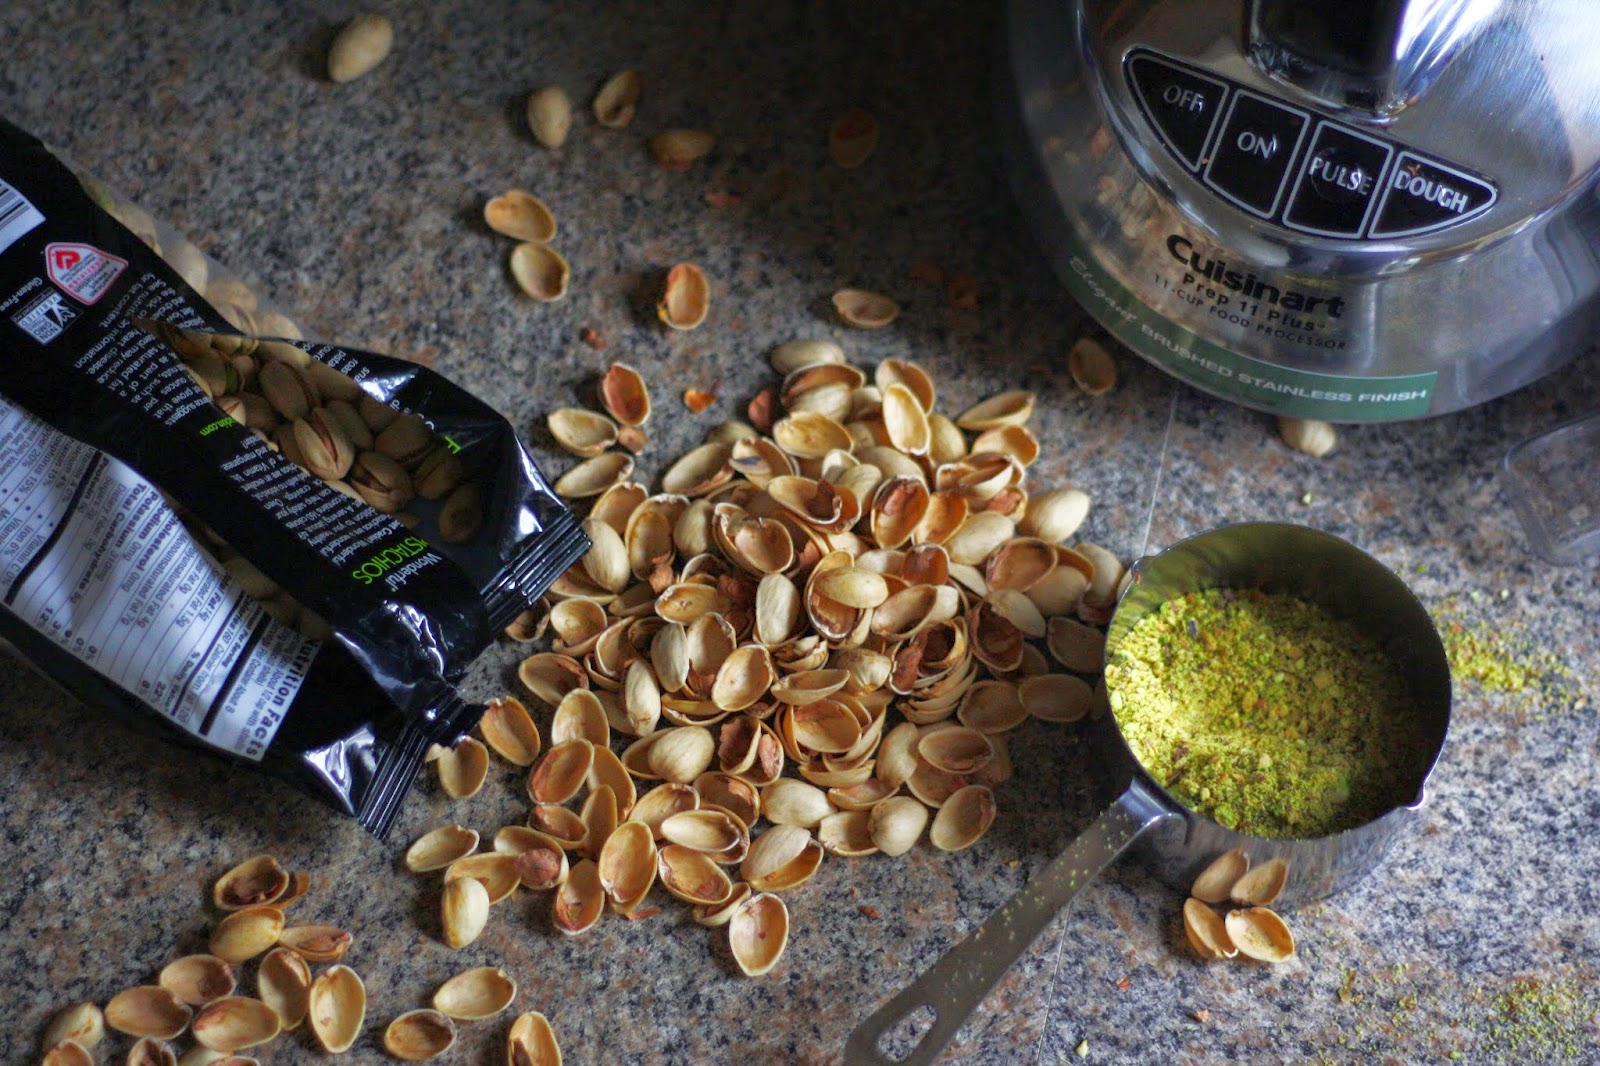
Chocolate Fudge Pistachio Thumbprints from How Sweet It is. Slightly warmed up with that ganache in the middle...oh so so good! I might have made mine about twice the size. I am my mom's daughter and that's just how we roll.

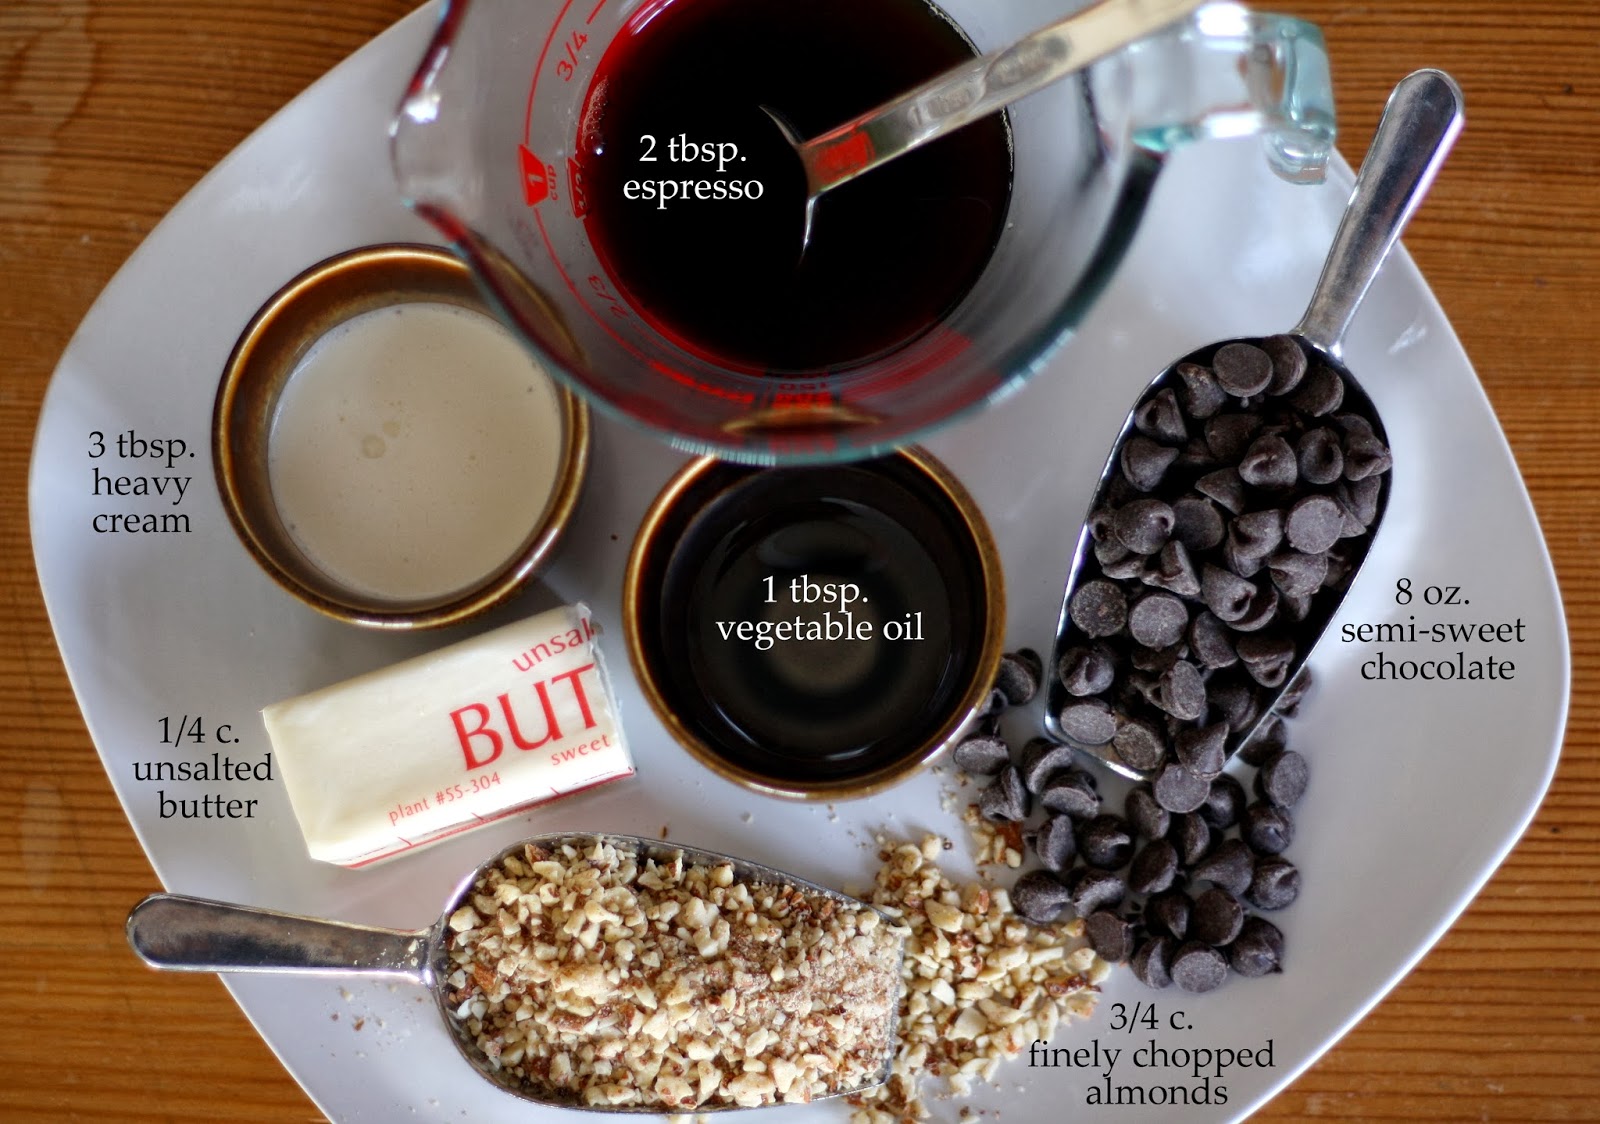
Triple Chocolate Espresso Cookies from Food 52. I've nicknamed these espresso crinkles and increased their size... ;) The hubster is absolutely in love with these.

Coffee Toffee from Smitten Kitchen for my coffee loving family. (She also posted a gingerbread biscotti recipe that's calling my name...maybe next year...)

Decadent Hot Chocolate Mix also from Smitten Kitchen.
We like ours with a 3/4 c. of 2% milk and 1/4 c. half and half and a few squares of homemade marshmallows on top. Rich and dreamy hot chocolate.

Nutty Millet Breakfast Cookies from the Whole Grain Mornings cookbook. Cookies for breakfast?! Don't let the whole grains deceive you, these are truly incredible moist, spiced cookies. The hubster's most requested recipe of the year. You can adapt the nuts and dried fruits in this recipe to your taste. Bonus: these are the perfect filling, yet nutritious treat for new mamas.

Want more? Check out my Christmas Goodies, Cookie! Yum Yum Yum!, and Baking Queen Pinterest boards for more inspiration!

I'll be back soon for some easy peasy last minute gift wrap ideas. 'Til then happy baking!

Monday, December 16, 2013

chocolate espresso truffles

Last year I made about half a dozen batches of chocolate orange truffles for gifts, parties, and snacking during Christmastime. They were quite a hit! Most people think chocolates truffles are too difficult to attempt at home and should be left to professional chocolatiers, but truly truffles are quite easy to make. You just need a little bit of time, a willingness to get a little messy, and a love of chocolate!

If you've been reading, you might recall that the classic chocolate/coffee flavor pairing is a beloved combination in our family. I decided it was time to recreate espresso brownies in a chocolate truffle form. These truffles are rich and decadent spheres that will make your chocoholic/coffeeholic loved ones giddy.
Chocolate Espresso Truffles 
Adapted from All-recipes
Makes 20-24 truffles

Ingredients
1/4 c. unsalted butter
3 tbsp. heavy cream
4 oz semisweet chocolate
2 tbsp prepared espresso
3/4 tsp. espresso powder 
4 oz semisweet chocolate
1 tbsp vegetable oil
3/4 c. finely chopped almonds or hazelnuts

Directions
1. Combine butter and cream in a saucepan over medium high heat. Bring to a boil then remove from heat.
2. Stir in 4 oz chocolate, prepared espresso, and espresso powder. Stir until mixture is smooth. Note: I made a batch of these truffles with only the prepared espresso, but the additional flavor from the espresso powder is needed to pack an espresso kick into the truffles.
3. Pour truffle mixture into a parchment lined 9 x 5 loaf pan. Chill for about 2 hours until firm.

4. Line a baking sheet with parchment or waxed paper. Here's part I of truffle making messiness: shape truffle mixture into rounded teaspoon with hands. No matter what you will have chocolate on your hands afterwards, but if the chocolate begins to majorly melt than you might need to stop and re-chill the truffle mixture. Place on baking sheet and chill in freezer for about 30 minutes. The last few truffles are usually the most oddly shaped of the bunch, I sometimes go back and roll those into better balls after they have been in the freezer.
5. While the truffles are in the freezer, toast the almonds. I prefer to toast in a skillet on medium heat stirring and shaking often until the nuts brown slightly and give off a nutty smell. You can also toast in the oven, but I think it's easier to make sure they don't burn when they are on the stove top (especially if you don't have a window on your oven door).

6. In a double broiler, melt remaining 4oz. chocolate with oil. Stir until smooth and let cool slightly (you don't want the outer layer to melt your truffle center).

7. Drop truffles in the melted chocolate. Use two forks (or a toothpick) to lift the truffles out. Allow any excess chocolate to drip off.
8. Drop the chocolate coated truffles in the toasted nuts and roll around until the melted chocolate is completely coated. Then carefully transfer back onto baking sheet. Repeat with remaining truffles.
9. Chill to set outer chocolate shell. Homemade truffles keep best in an air-tight container in the fridge. Set the truffles at room temperature about a half hour prior to serving.
Make these espresso truffles for your next Christmas party or give these out as gifts. I doubt you'll get any complaints when you show up these beauties! Never doubt the power of chocolate and coffee. Never.

Friday, November 1, 2013

almond oatmeal lace cookies

Happy November! I love everything about this time of year - crisp days, cozy nights, days filled with laughter, friends, and FOOD! These lace cookies are the perfect recipe to ring in the baking season. The ingredient list isn't too long, the dough comes together quick, and the result is a buttery and elegant cookie that's just begging to be taken to a family party or a cookie exchange.

This recipe is adapted from an old standby cookbook in my mom's cookbook library. And yes, I did say library - her collection is extensive! Mom has her own little cataloging system. Unfortunately, I haven't quite figured out her system and always forget where each book belongs. Such a source of shame to my inner librarian! In my defense, they are lacking proper spine labels :) Anyway, the original recipe comes from Steven Schmidt's Master Recipes. I adapted it to include some nuttiness with the almonds and a wonderful complimenting drizzle of chocolate on top. Every great cookie deserves a small dose of chocolate!
Ingredients
2 sticks salted butter
1/2 c. white sugar
1/4 c. packed dark brown sugar
1 large egg
1 tbsp all purpose flour
1 1/4 c. oats
3/4 c. ground almonds
4 oz. semi sweet or dark chocolate

Directions
1. Preheat oven to 350 degrees
2. Melt butter in saucepan over low heat
3. Remove from heat and beat the sugar in first then egg and flour. I pour the melted butter into my stand mixer and let the mixer do the work.
4. Stir in oats and almonds. Don't worry if the dough looks too liquidy - the butter will begin to solidfy as it cools. I did need to add another tablespoon of oats to my dough because the egg I used was abnormally large.
5. Drop slightly heaped teaspoons of batter at least 2 1/2 inches apart onto prepared baking sheets. Flatten mounds of batter slightly with finger and push in jagged edges.
6. Bake in batches on prepared baking sheets for 8-9 minutes in preheated oven until cookies have spread and browned nicely around the rims. I found that using a silpat works beautifully with these cookies. If you don't have one, use parchment.
7. Let cookies cool a minute or two on sheet then transfer to parchment lined cooling rack.
8. Once the cookies cool, melt chocolate over double broiler.
9. Decorate your cookies. Here's your options: drizzle with melted chocolate, use a pastry brush and brush half of each cookie gently, or dip the bottoms of the cookies so the back side is coated in a light layer of chocolate. I prefer drizzling. It's the messiest, prettiest, and easiest way to decorate!
10. Cookies keep for two to three days in an airtight container. I keep mine in the fridge, and bring them to room temperature before eating. You can also freeze them in airtight containers, but enjoy within two months time.
The original recipe said it makes four dozen 2 1/2 inch cookies. I made mine a bit larger and got a little over three dozen.
P.S. The buttery, nutty smell of these cookies is intoxicating. I could barely resist eating another one while getting this shot. Taste testing is always the best part!